


This walkthrough shows you how to configure upload location in WebFileUploader.
During this walkthrough, you will learn how to do the following:
- Configuring upload location for WebFileUploader
 Prerequisites
In order to complete this walkthrough, you will need the following:
- Visual Studio 2008 Application.
Step-By-Step Instructions
To enable mail merge with custom collection
- Launch Visual Studio.NET 2008.
- Click on File menu, then select New and click Web Site.
- Select ASP.NET Web Site in the Template box and set Location to HTTP.
- Named the Web Site and click OK.
- Right-click on Project's name and select New Folder.
- Named the folder Upload.
- Right-click on Project's name and select Add New Item.
- Select WebForm in the My Templates box and named it as Walkthrough.aspx.
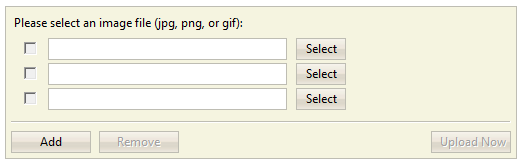
- Drag WebFileUploader instance from ToolBar to WebForm.
- Set the UploadPath property to the newly created Upload folder, the value of this property should be ./Upload
- Run the sample in the Web Browser, the entire uploaded file will be located in the upload folder.
 See Also
Tasks
{Walkthrough: Configuring Upload Limits}
Other Resources
{Upload}